|
|
|
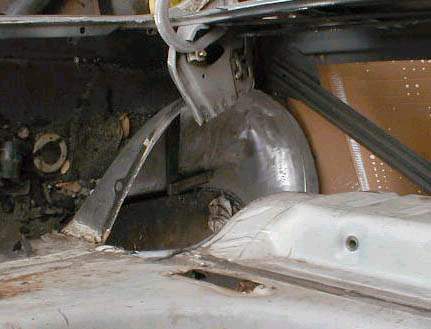
This is the size that the wheel well started out as. The plan was to section the inner wheelhouse and bring it straight in (or down as the case may be).
If you look closely, you can see the cut line drawn on the metal. Cut on the rear section just inside of the stock flange. One thing that has to be done is to drill the spot welds out on the trunk brace and package tray support.
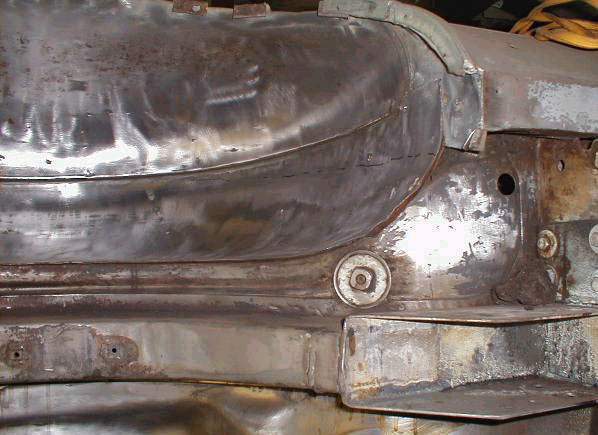
As you can see here, you might not be able to follow the stock flange all the way. The braces for the window area and interior sheet metal get in the way of following the stock flange. However, the stock flange curves and shouldn't be followed anyway for a straight cut.
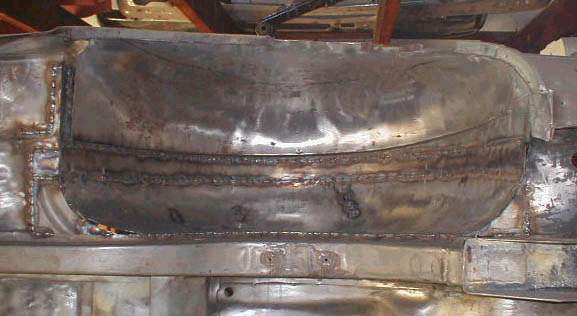
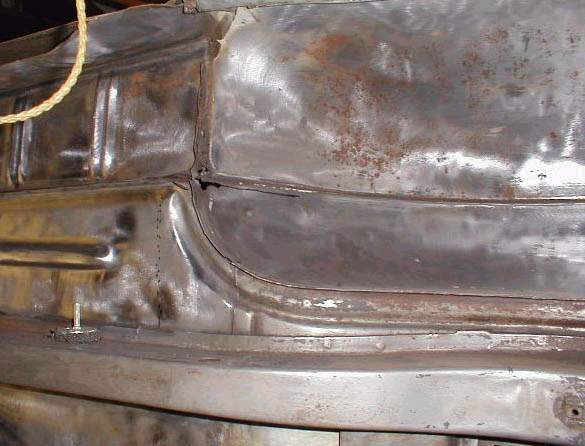
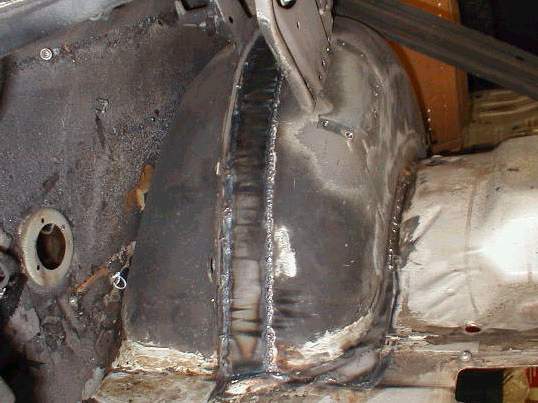
All done! Add a piece of 18 gauge sheet that measures your required dimensions. Ground down the frame rail another 1/4" or so and then tack the wheelhouse to it in order to figure out where the original radiused pieces of the trunk pan would fit. Once cut to fit they were tacked in place. The long piece was then added starting at the rear of the well and stitched along the top and bottom until it reached the front of the wheel well.
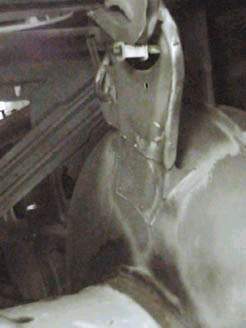
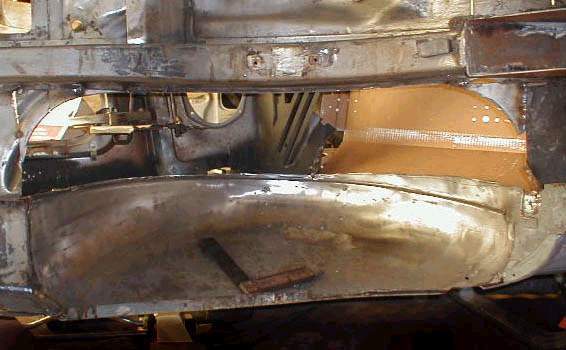
This is what the stock mount looked like before the mini-tub. Drill the spot welds out that connected the two trunk brace pieces together. This allowed the wheel well piece to be removed with the inner well, and then removed and repositioned after the tubbing.
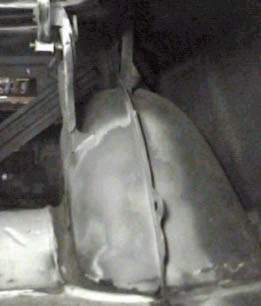
This is how the brace and the mini-tub look from the inside. A little grinding and some filler and nobody will know the difference!
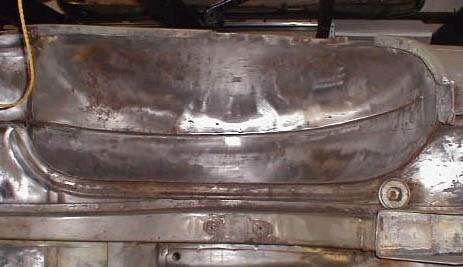
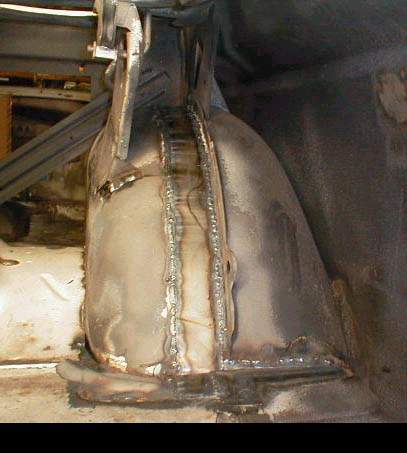
This is of the left side with the inner well cut out. You can see the original radius sections blasted, fitted, and tacked back into position.
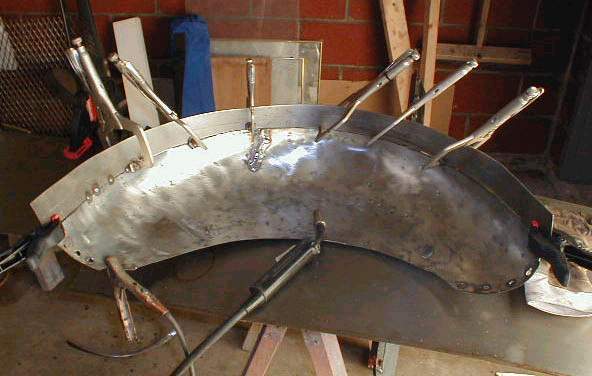
Tack the filler piece to the inner well out of the car. You should get a tighter fit for the most part.

This is the side by side comparison of before and after. Definitely worth the time. Now all that is left is to backspace the wheels properly. Easy!
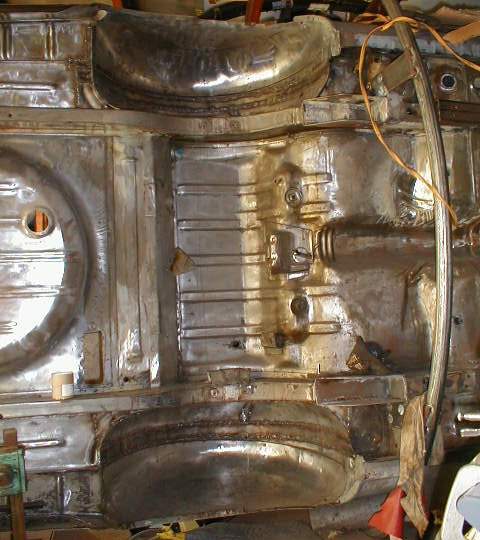
The finished job!